Pages

Wednesday 24 May 2017

Who let the dogs out?

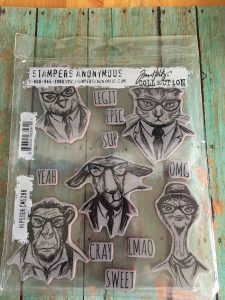
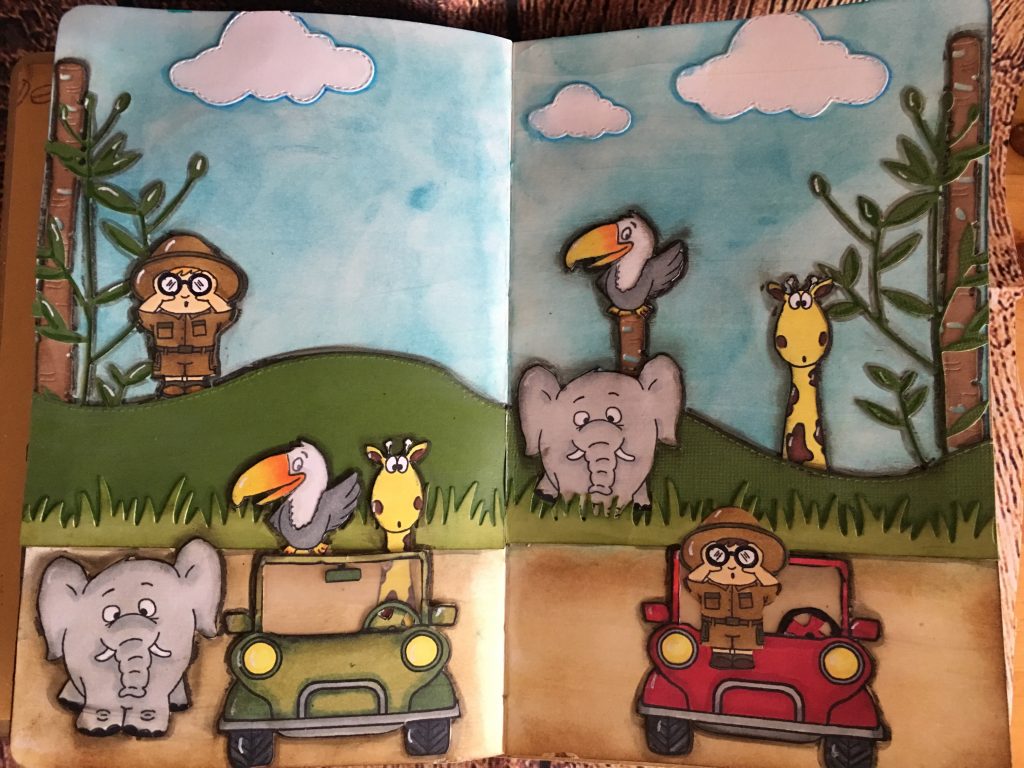
Hi everyone this is Mona with another fun art journal page featuring this fun stamp set called Puppy dog tales from Kat Scrappiness.
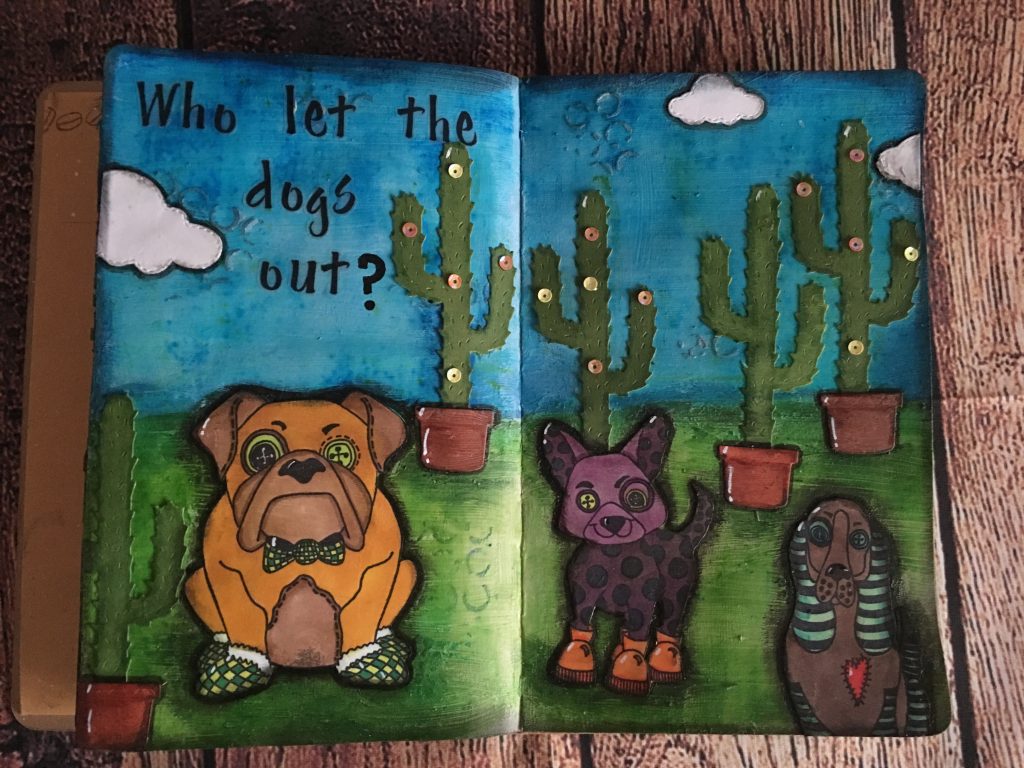
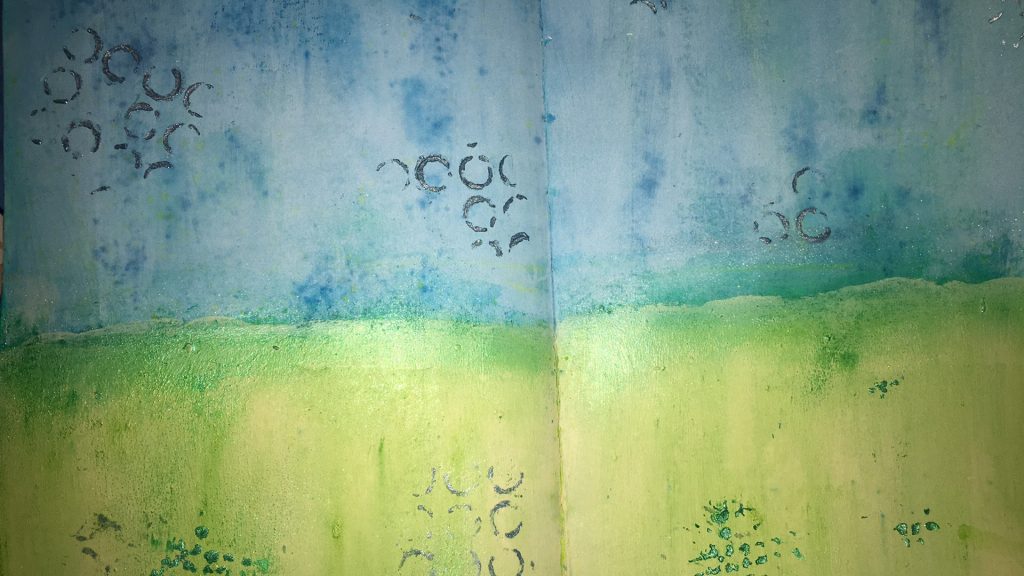
 I started by doing my background using a few different items. I first added a coat of Gesso then used my Distress crayons to create the sky and the ground. I then took a stencil from my stash and added texture using again the distress crayons to give it some interest. Once all that was completed I added a light coat of Ranger gel medium to seal everything.
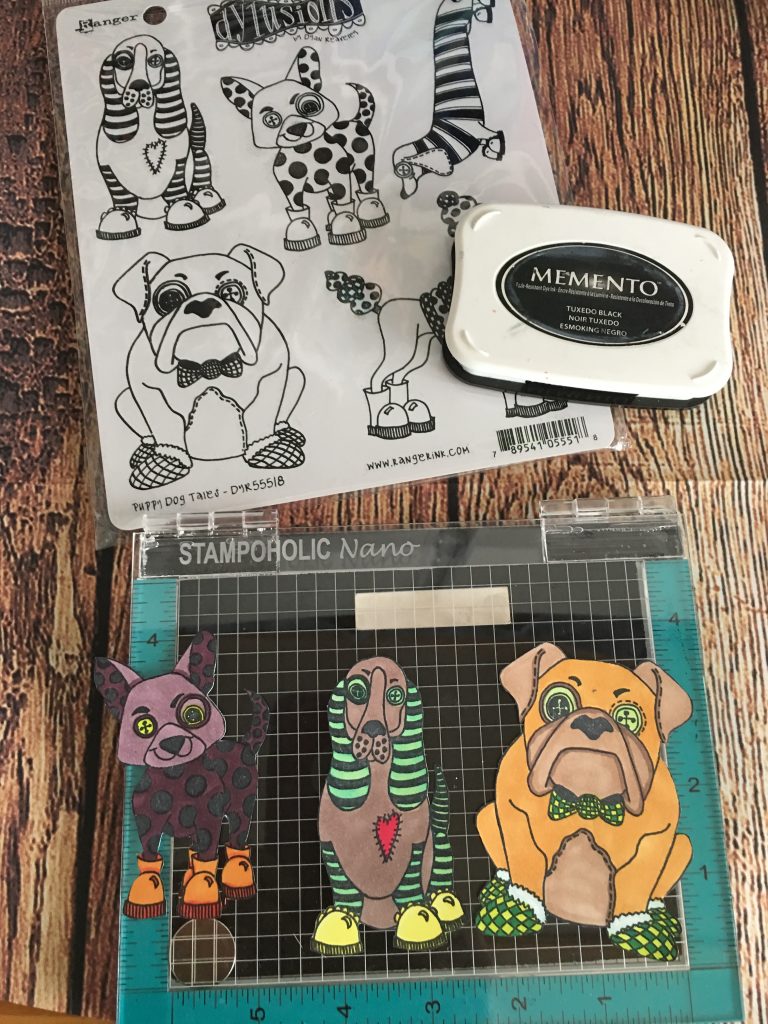
Now for the fun part I used my stamping tool and Memento black ink to get all my dogs stamped and then coloured them in using my Spectrum Noir markers. I also used my scissors to Fussy cut them.
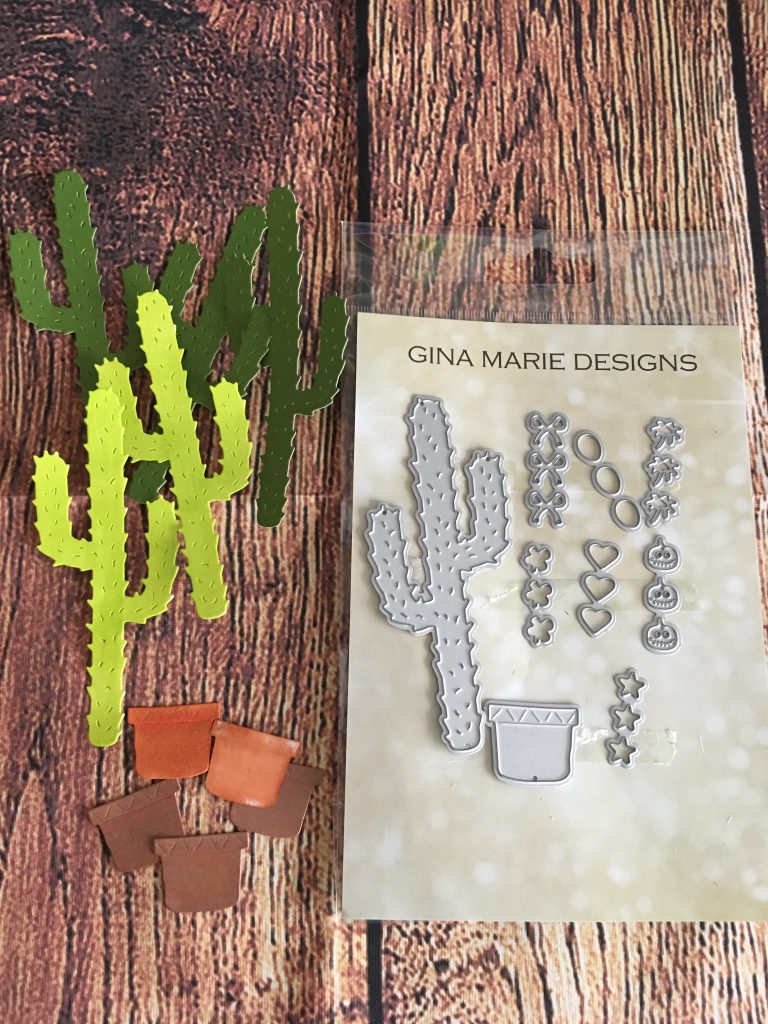
 I used my vagabond to die cut 5 cactus and clay pots from the Year round cactus die set. I used my Spectrum markers to colour them in. Once everything was cut and coloured I adhered everything down in place again using the gel medium. Now for the fun part adding the final touches. I used my big brush markers from Faber  castell to add the shadow and my white gel pen for the highlights. I also  used my Krystal Katana to add some sequins from Kat Scrappiness.
Thanks everyone for looking, hope you enjoyed my tutorial. See you again soon!

Thursday 11 May 2017

Wild About You


Hi everyone this is Mona back with a fun journal page featuring this fun stamp set called  Wild About you from Kat Scrappiness . I went ahead and stamped two of each images from the set  using my  Memento tuxedo black ink and coloured them using my spectrum noire markers and then fussy cut them.


Here is where I took out my Best Glue Ever from ScraPerfect to Glue two pages together in my journal since my journal is getting very thick. The Glue is really fast drying and holds really well. I have used the No clog writing cap-Large to because you only need a small amount since the Glue is really tacky and holds up really well.


For my background I used Distress Ink mini and my blending tool to create a sky and ground. I then used a bunch of dies to cut out  different elements for my background. GM Stitched Sky Die set and Birch border die were a few that I used and then went on to place everything down.


This is where I took my Best Glue Ever and adhered everything down it takes a really small amount, dries almost instantly  and if you happen to put a bit too much and oozes out no problem it dries clear.


Now for the fun part once everything in adhered down I added a thin layer of  gel medium and used my big brush markers to add shadow everywhere and my White gel pen to do all my detailing. This finishes up my project for today. I hope you enjoyed it and hope to see you again soon!


Monday 8 May 2017

Summer fun treats

Hi everyone this is Mona with another fun card featuring two lovely stamp sets from Sunsational crafts.. This time I decided to do a box card following  instructions ot a tutorial that a friend passed along to me.  Just google box card tutorial and there are many out there. Felishia in swimsuit  and You're so cool are the two stamp sets I used. 


 I fussy cut all my images and coloured them with spectrum noire markers and added a few highlights using my white gel pen. I then added all my images onto strips of acetate and adhered them into my box and also adhered Felishia in the back. This finishes off my card for today hope you enjoyed this mini tutorial. Hope to see you all again soon.
Here is the link for the store for your browsing convenience.


Tuesday 2 May 2017

Fun Hipster cards

 Hello my crafty friends. This is Mona back with a few fun cards I did creating the Hipster stamp set from Tim Holtz. I started by using white card stock cutting in half to make my card base and them scrored it in half making it 41/4x 51/2 . I then took pattern paper from my stash and cut it at 4 x 51/4 and glued it on my card base using my atg gun with the 1/2 inch atg tape refill. Next I used watercolour paper and Kat Scrappiness fancy scalloped rectangle dies  and die cut 1 rectangle for the base of my stamped image.
I took my stampololic and my Jet black Archival ink to stamp my image in the centre of my rectangle.
Now for the fun part colouring my images I decided to use my Kuretake Gansai Tanbi water color paints and my Tim Holtz water brush that I have been hoarding for a while. The colours are so nice and opaque,, really enjoy using them. I then finished off my cards adding the sentiment and adhering to the card base.  Hope you enjoyed this mini tutorial, see you all soon.